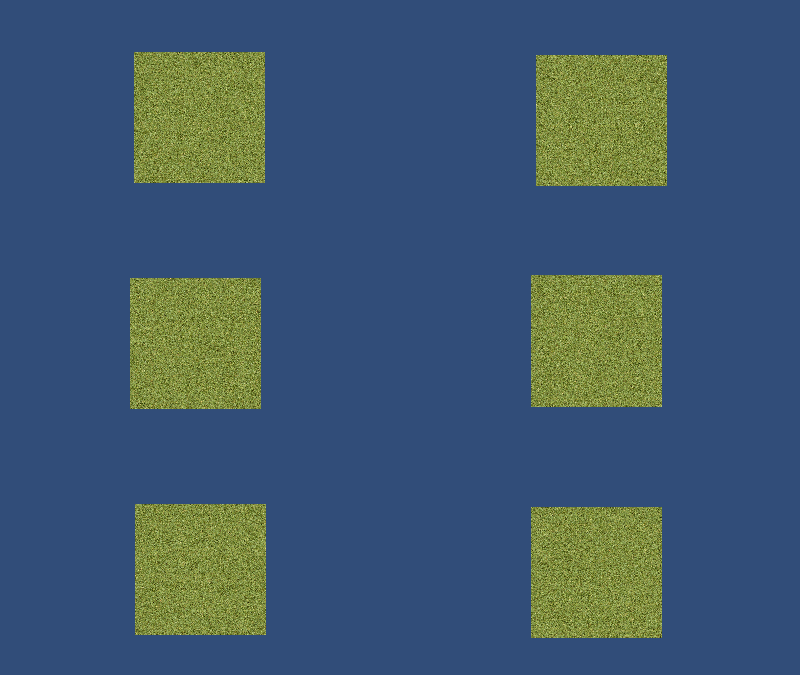
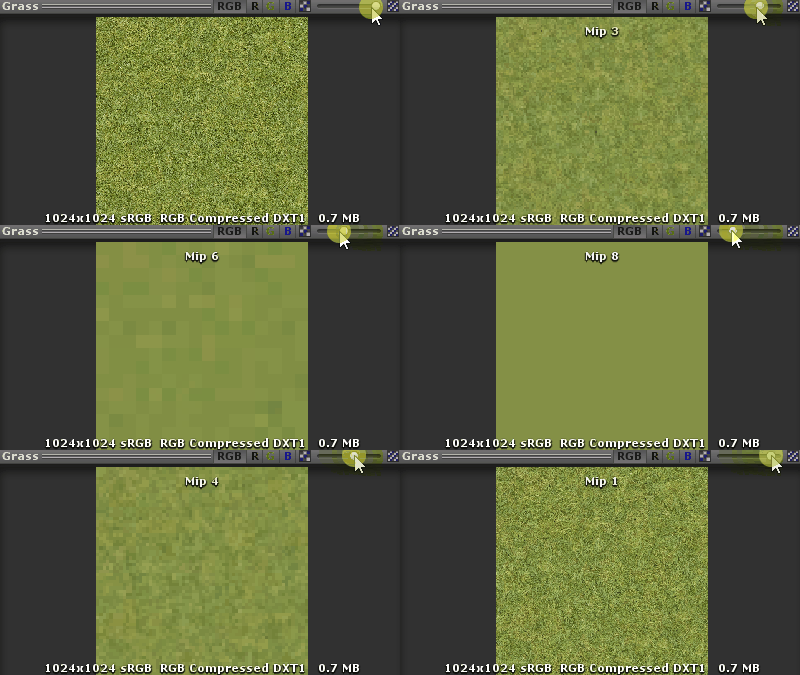
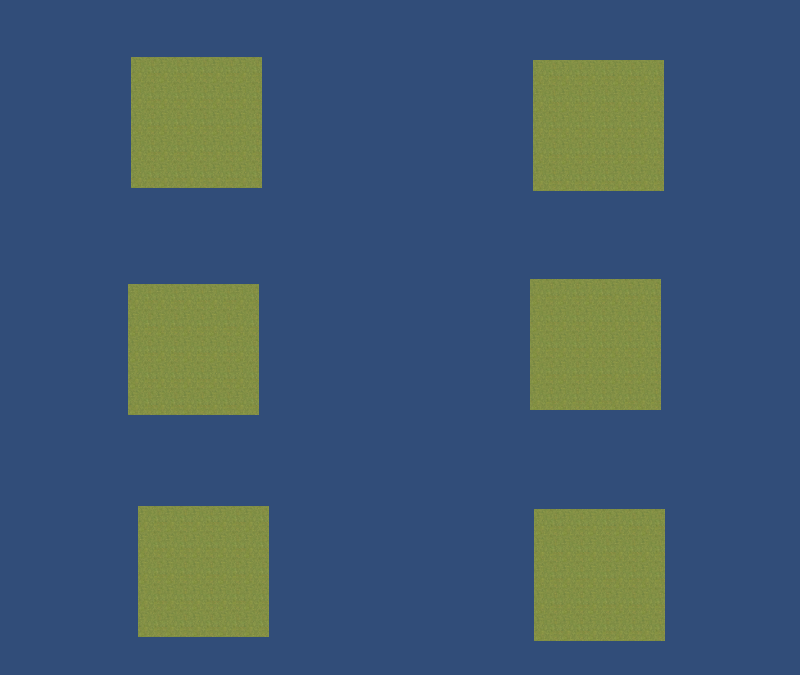
This is a quick summary of how Mip Maps work in preparation of the Mip Map Folding Tutorial where we will implement a custom variant of “Infinite Mip Maps” by folding the Textures onto themselves.
Already know how Mip Maps work?
Let’s get started!
When rendering textures, there are two important pixel resolutions at work. One of them is your screen size. The higher-res the screen, the more detail you will be able to display to the viewer. The second one is the texture resolution itself. A 4K monitor won’t help you much in terms of displaying textures, when you’re playing a game from 2001.

Even if you manage to crank the display resolution up to render at native 4K, it won’t do you no good, as the detail in the textures simply isn’t there. The textures are to low res and as long as you don’t go through the hassle of installing a questionable High Res Texture Mod, no 4k or 8k monitor is going to change that.
Another situation where this happens even with regular screens is if you go up real close to a model in a 3D game. At some point you’ve reached the limits of the texture resolution and you’re just staring at a blob of mushy or pixelated colors.
This problem is called oversampling. You are taking too many samples (with your screen) from a source with not enough resolution (the texture).
Sadly mip mapping does not solve the problem of oversampling. Unless you’re doing some weird generative functions, there are very few ways to create convincible detail where there is none.
Mip Mapping actually solves the opposite problem: Undersampling.
Undersampling happens when your screen resolution is not high enough to properly display all the detail contained in a texture. This is mainly a problem for 3D games, where textures can be far away. Like Julians sand dunes in the Glitter Shader. The texture is displayed so small that it’s impossible to display every pixel on screen. While this is mostly fine for still frames, the problem becomes obvious as soon as we move the camera the tiniest bit.

Every screen pixel can be assigned only one texture pixel and if the pixel density in the texture is too high, we simply skip a few pixels before rendering the next one. As soon as we move the camera, though some pixels, we previously skipped now show up and others suddenly disappear.
Instead of a continuously moving texture we now get a mess of noisy pixels and potential ‘firefly’ effects (bright pixels suddenly showing up and disappearing). While this already works better for the Glitter effect, most of the times we do not want to show such noisy textures to the player.
So this time we are sampling with a low res sampling device (our screen) from a high res source (a distant texture).
Upping the screen resolution would solve the problem and there are techniques like MSAA that simulate exactly that, mitigating some of the problem. But we can’t require the player to turn on MSAA or buy a new 4k monitor whenever they are looking at a building in the distance.
The alternative is lowering the resolution of the texture. And mip mapping does exactly that. Instead of displaying the full res texture, we display a downscaled version to the viewer. Of course this is only done for textures that are far away from the camera.
In order to be able to show the full res textures up close, we need to store multiple texture variants on the GPU. This is called the mip chain

The chain consists of the original texture and all its divided by two variants. So a 1024px texture would store the following variants in its mip chain:
- 1024px (original)
- 512px (mip level 1)
- 256px (mip level 2)
- 128px (mip level 3)
- 64px (mip level 4)
- 32px (mip level 5)
- 16px (mip level 6)
- 8px (mip level 8)
- 4px (mip level 9)
- 2px (mip level 10)
- 1px (mip level 11)
This is part of the reason why power of two texture sizes are so common. The cool thing is that mip maps are evaluated on a per pixel level, meaning a huge mesh of let’s say a star destroyer flying overhead can display different mip maps at different distances to the camera.


Leave a Reply